


Concerto dos Diabo Na Cruz em Faro


Jun 30, 2011
Which One: Olympus EP-3, EPL-3 or Pen Mini?
Which One: Olympus EP-3, EPL-3 or Pen Mini?: "


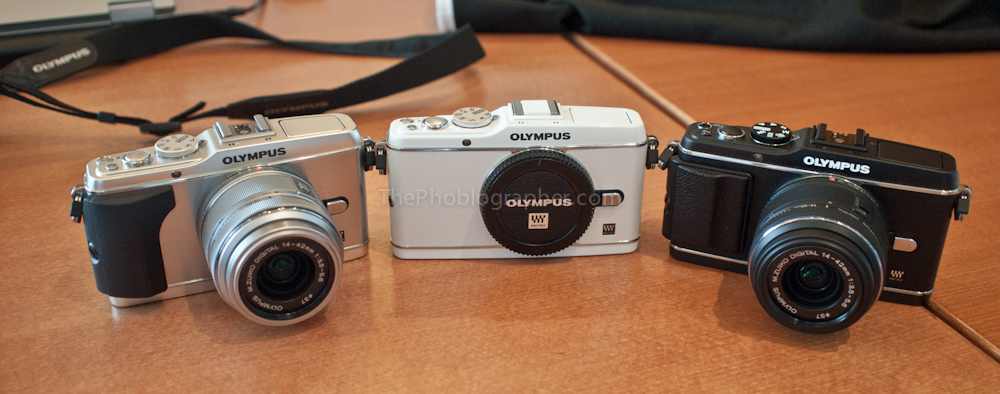
EP-3 in white, silver and black
With today’s announcement of the Olympus EP-3, EPL-3 and Pen Mini, many of you may be trying to figure out which one is right for you. Also, you may not even totally understand what’s new about these cameras and what the differences are from the predecessors. Here’s your guide to getting through all the data.
What’s New?
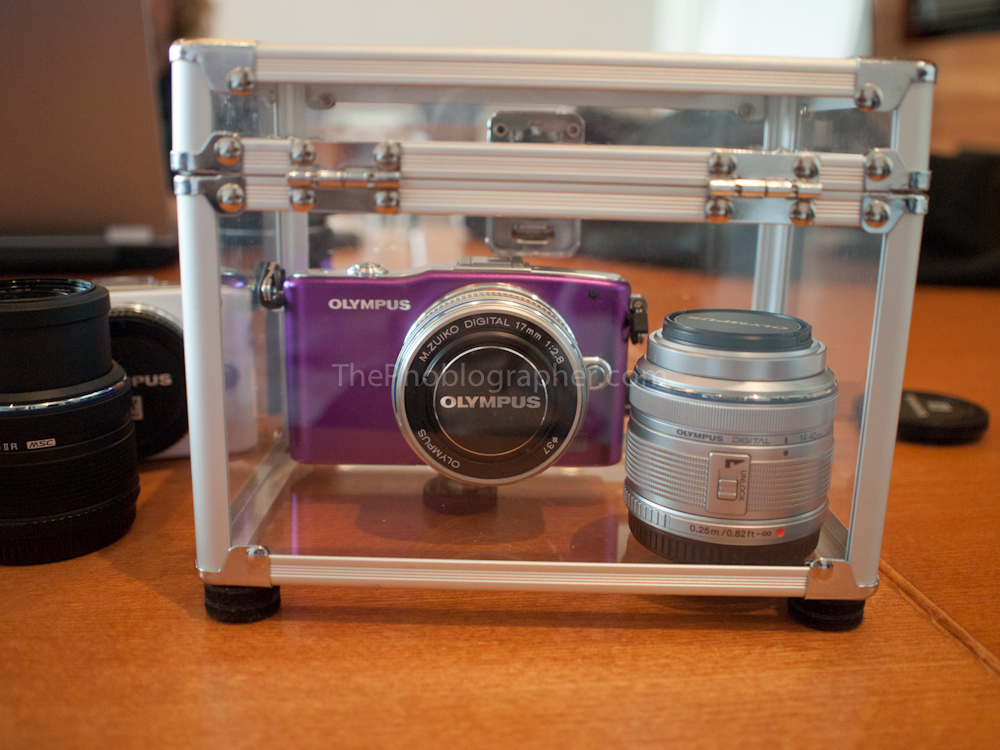
Pen Mini
- New Olympus developed 12MP sensor for better dynamic range, color depth and high ISO noise control.
- New FAST AF system, which works with the lenses, new TruPICVI processor (dual core) and the sensor to create a super fast autofocusing system.
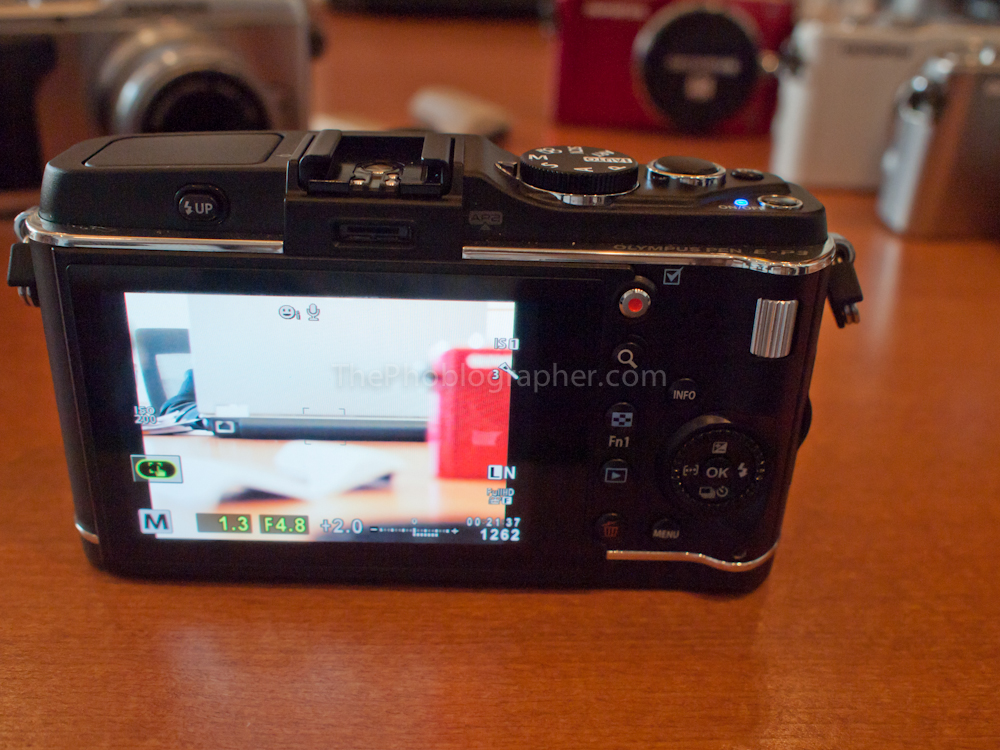
touchscreen on the EP-3
- Touchscreens on all the cameras (correction, it is only on the EP3)
- Pop-up flashes (was on the EPL-2 and EPL-1 before, but is now in the flagship series as well.)
- You can add different effects to the art filters like a white border, pinhole effect, starlight effect and more.
- Smaller size with the EPL-3 and Pen Mini
- New touchscreen interface and info layout
- New ways to take the photos besides pressing the shutter button.
- The EP-3 has more buttons, the EPL-3 has slightly less and the Pen Mini has almost none. Olympus is targeting the Pen Mini at the Sony NEX system; or at least that’s what it seems like.

The new menu system
- New menu system. It’s a bit more complicated and jam packed but I like it. If you’re wondering what each function does, all you need to do is press the info button for a description.

- The EPL-3 and Pen mini have tilting LCD screens.
- The EPL-3 and Pen mini are made of plastic, while the EP-3 has an aluminum body.
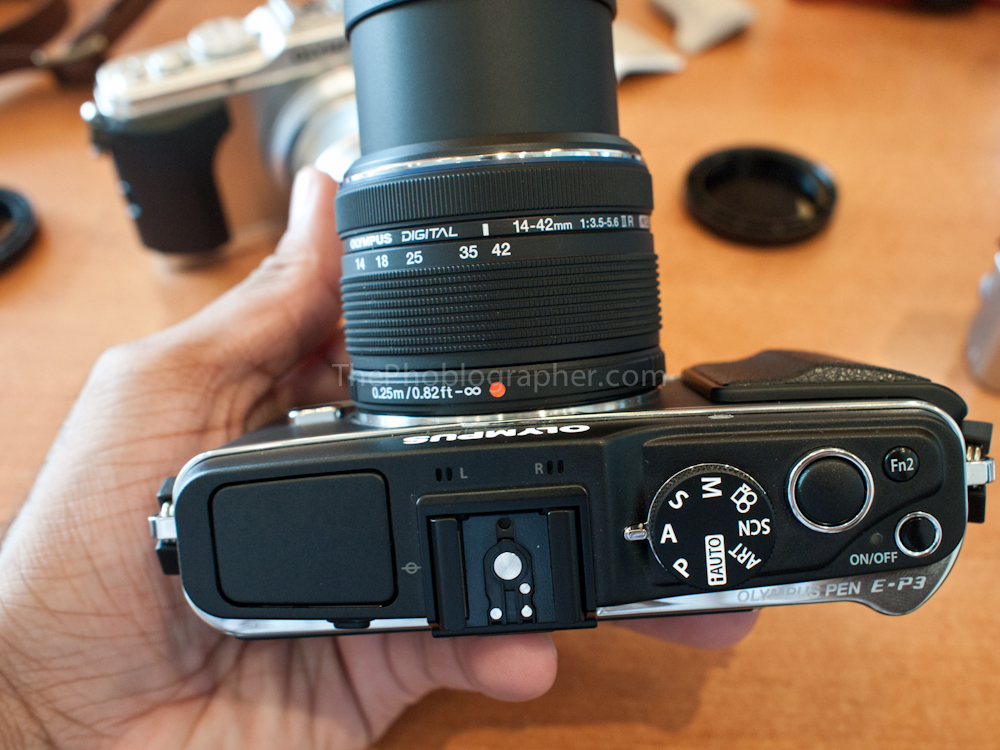
- Newly updated kit lenses that are now MSC: and will work with the new FAST AF system. The new lenses have some cool cosmetic additions like the front area that can unscrew to accept a lens hood or filter.
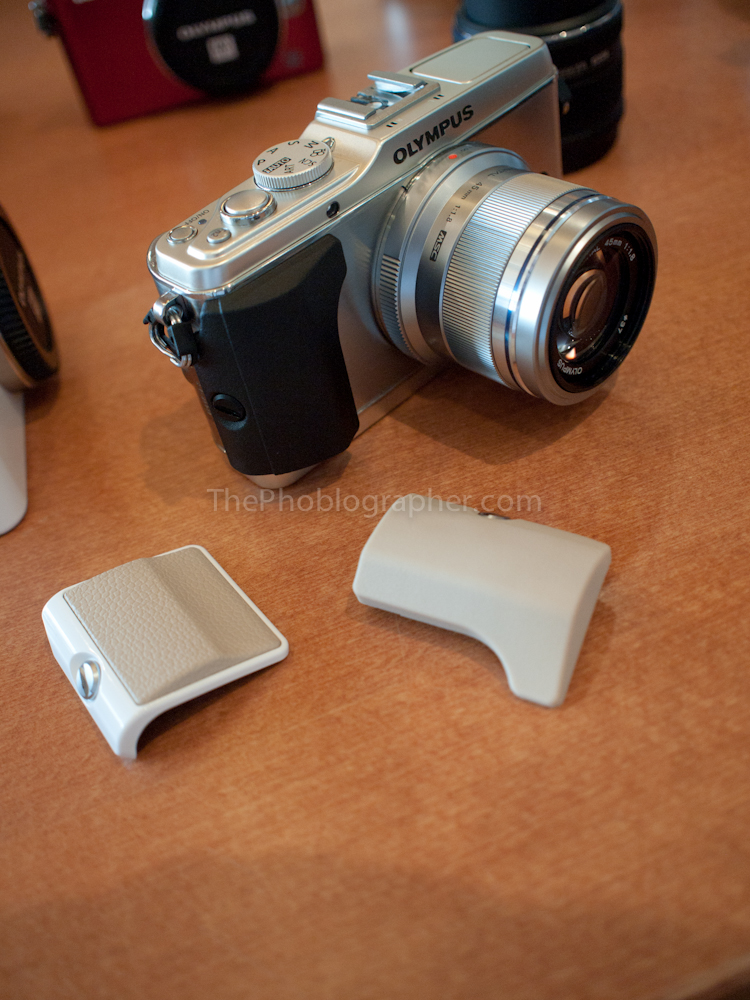
- The EP-3 has interchangeable grips.
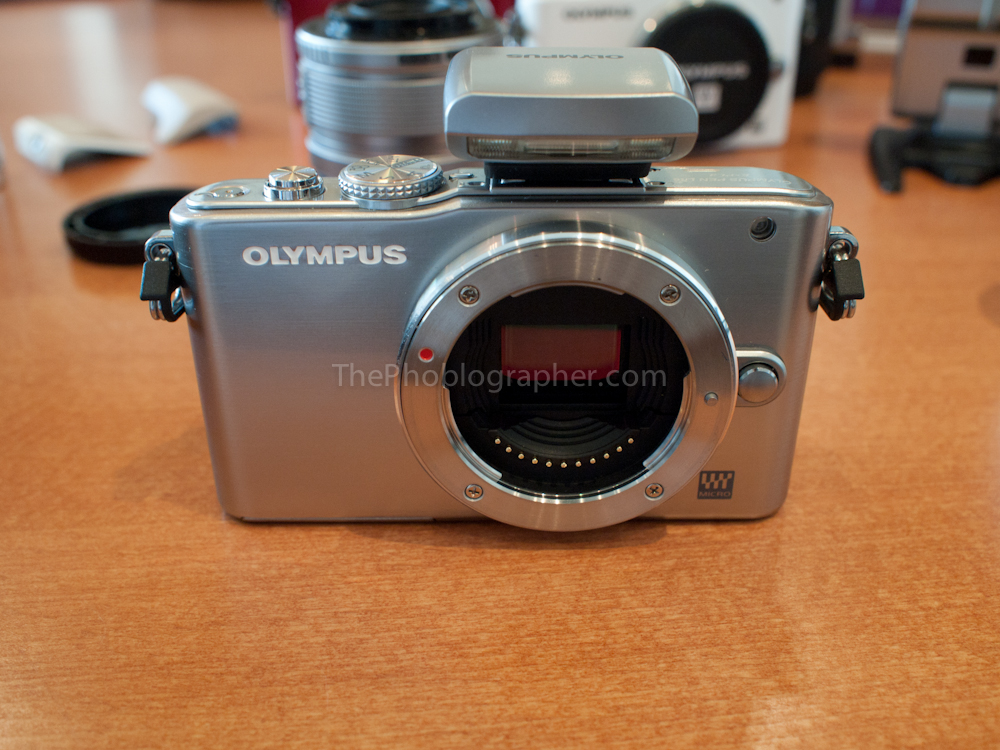
- To get the units so tiny, the EPL-3 and Pen mini have new shutter units.
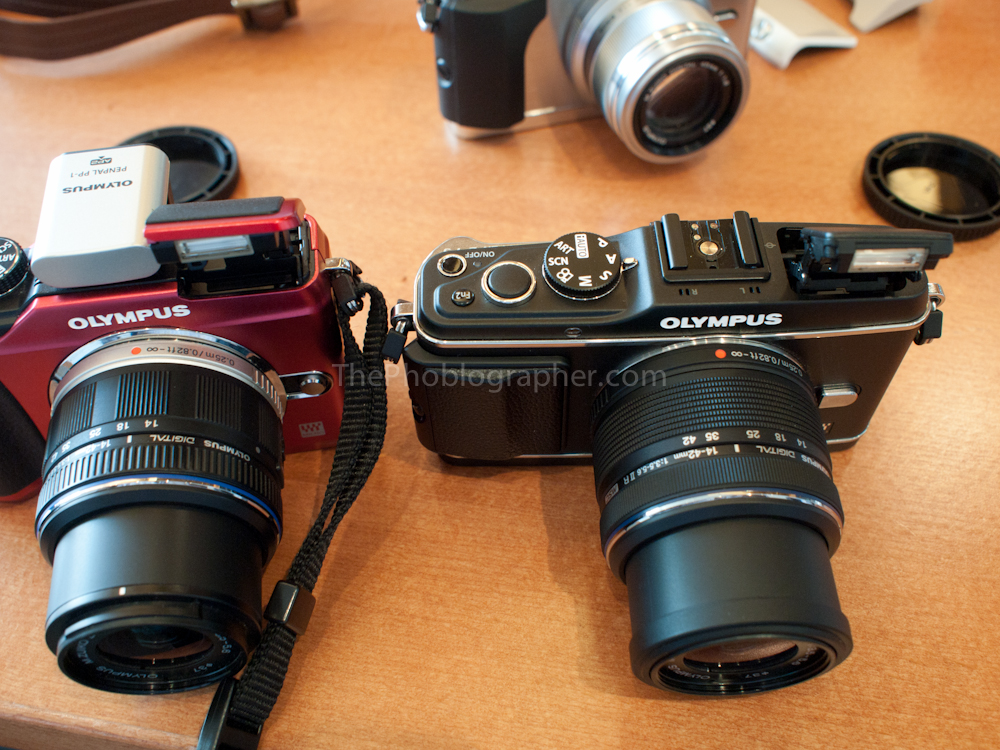
- The new pop-up flash comes out a bit further for better image quality. On the left of the above image is the EPL-2. On the right is the EP-3.
So Which One is Right for Me?
- The EP-3 is targeted more towards high end enthusiasts and professionals that want a smaller camera. Those that appreciate some extra heft will like the EP-3. Street photographers, professionals that need a smaller camera for certain projects, students, and those looking for a sexy retro-styled body will digg the EP-3.
- The EPL-3 is more targeted towards the class of people that want to learn more about photography but don’t want an SLR style body.
- The Pen Mini is for those like the soccer mom that want interchangeable lens cameras with more power but are afraid of lots of buttons and a complicated interface. Everything is made very simple with this camera.
"
Jun 26, 2011

Jun 24, 2011
Matching RAW Files to JPEG Pairs in Aperture 3
Matching RAW Files to JPEG Pairs in Aperture 3: " 


 "
One of the reason a photographer may want to shoot RAW + JPEG is so they can quickly send low resolution files first and them import only the matching RAW images will use. This technique can speed up an initial workflow and also save massive amounts hard drive space.
For instance, I have a friend who is a team photographer for a professional sports team. He’ll shoot RAW+JPEG and import only the JPEG files. He’ll make a quick edit and send those JPEGS to the online guy so they can be posted as the game progresses. This speeds up the import, export and uploading, but the RAW files are still on the card. Then, when he gets back to the office, he’ll go through the edit more carefully, and re-import the RAW images so they match the JPEG files in his take. He’ll only import the keepers.
At the end of the day, he’ll have ALL the jpegs he shot, and the only the RAW files that match his best images. This way if he’ll aways have every frame he shoots in form of a high resolution JPEG but the entire take will only use up a few gigs of hard drive space compared to 10 to 30 gigs if they were all RAW.
Import only the JPEG files off the card
First select the RAW+JPEG Pairs Import Setting in the Import window.
This will allow you to import only the JPEG files off the card.
Rate your images and filter out the selects
This can work many ways, but in this case I’ve rated five out of the 19 images with a one star. Since I want to match the RAW files with the one star JPEG files I’ll filter set the search window to show only one star images. Of course, you are free to match pairs using any filter you like. Perhaps you’ve color coded images, or want to match only the images shot with your 400/2.8 lens. Any search criteria will work. It’s up to you devise a workflow that makes sense for your needs.
Select Matching RAW files
At this point you’ll leave the filtered images showing in your Browser and go to the Import Window. Next, select "Matching RAW files" from the drop down menu in the "RAW+JPEG Pairs Import Setting. You should only see the one star rated images in the Import Window.
When you do this a second drop down menu will appear. It gives you the choice of "All matching files", "Unrated or better" and "Current filter". It’s self explanatory here, but in this workflow, since we only want to match the RAW files to the one start rated JPEGS, we will select "Current filter". This will import only the RAW files that correspond to the one start rated JPEG images. Click the Import Checked button.
After the import, you should see a badge with the letter "J". That means the JPEG has a corresponding matched RAW filed paired to it. This is what we want.
BONUS TIP: If you want to see the RAW instead of the JPEG, Option (Right) Click the image and select "Set RAW as Master"
WARNING: You can NOT match the RAW pairs if you have renamed the Master file names. If you only rename the version as long as it’s not applied to the Master.


Jun 21, 2011
15 Photoshop Lightroom Tips and Tutorials to Enhance Your Workflow
15 Photoshop Lightroom Tips and Tutorials to Enhance Your Workflow: "Second only to Photoshop, Lightroom is a popular choice among both amateur and professional photographers. Lightroom sports an intuitive UI for editing your images as well as great tools to help you manage your photos. We have gathered 20 tutorials and tips to help you get started and/or improve your use of Adobe Photoshop Lightroom. [...]
Related posts:


 "
Related posts:
- A Helpful Collection of Digital Post Processing Tutorials
- Helpful Tools for Creating, Sharing and Discovering Lighting Diagrams
- 20 Useful Photoshop Actions to Make Your Post Processing Easier
"
Subscribe to:
Posts (Atom)